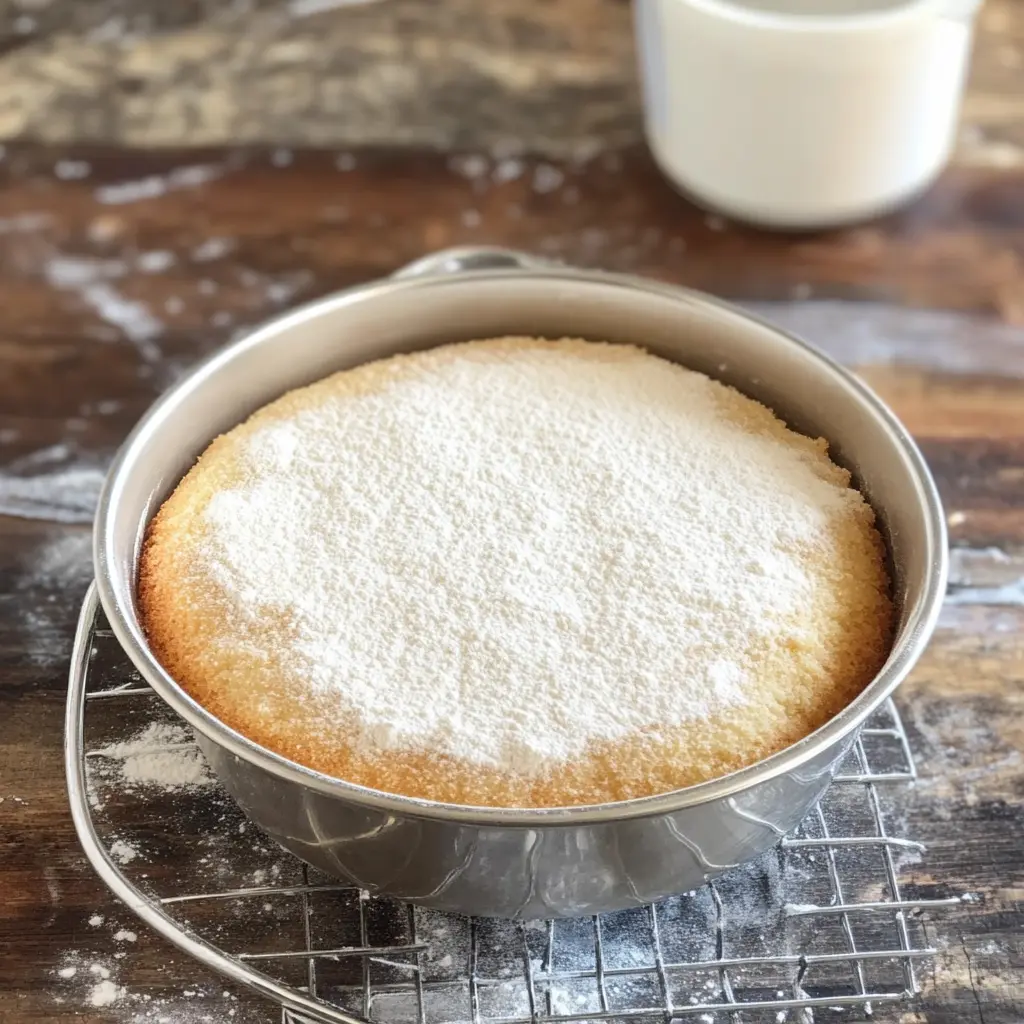
Homemade pan release is a game-changer for bakers of all skill levels. This simple, three-ingredient mixture is the ultimate solution to stubborn, stuck-on baked goods. Whether you’re whipping up a classic cake, delicate muffins, or savory casseroles, a generous coating of homemade pan release ensures a flawless release every time. Say goodbye to frustrating clean-up and hello to beautifully baked creations that slide right out of the pan.
Table of Contents
Unlocking the Power of Homemade Pan Release
Homemade pan release is a versatile baking essential that combines all-purpose flour, vegetable shortening, and vegetable oil. This blend creates a non-stick barrier between your bakeware and the batter, preventing unsightly sticking and tearing. By coating your pans with this homemade mixture, you can bake with confidence, knowing your cakes, breads, and other treats will emerge from the oven in pristine condition.
Ingredient Breakdown
- All-Purpose Flour: The flour in this recipe acts as a thickening agent, helping the pan release adhere to the surface of your bakeware. It also provides a subtle absorbency that prevents excess greasiness.
- Vegetable Shortening: Shortening is the key to creating a smooth, pliable texture that easily coats pans and releases baked goods. Its high-fat content ensures a durable, non-stick barrier.
- Vegetable Oil: The addition of vegetable oil further enhances the lubricating properties of the pan release, ensuring a seamless release without any sticking or tearing.
By combining these simple, affordable ingredients, you can craft a homemade pan release that outperforms many store-bought alternatives. Plus, you’ll have complete control over the quality of the components, ensuring your baked goods are free from any unwanted additives or preservatives.
Step-by-Step Instructions
- In a medium-sized bowl, combine 1 cup of all-purpose flour, 1 cup of vegetable shortening, and 1 cup of vegetable oil.
- Using a spoon or a hand mixer, mix the ingredients thoroughly until the mixture is smooth and well-combined.
- Your homemade pan release is now ready to use! Apply a generous coating to your baking pans before adding your batter or dough.
- For future use, store the pan release in an airtight container at room temperature. It will keep for several months, making it a convenient and cost-effective baking essential.
Homemade Pan Release vs. Store-Bought: Why DIY is Better
While store-bought pan release sprays and greases can be convenient, homemade versions offer several advantages. First and foremost, you’ll save money by making your own. The ingredients are inexpensive and easy to find, allowing you to create a large batch that will last for months. Additionally, by crafting your pan release at home, you have complete control over the quality and composition of the mixture, ensuring it’s free from any artificial preservatives or questionable additives.
Another benefit of homemade pan release is the ability to customize it to your specific needs. If you prefer a thicker or thinner consistency, you can easily adjust the ratios of the ingredients. Some bakers even experiment with adding a touch of their favorite spices or flavorings to the mixture, creating a truly unique and personalized baking experience.
Versatile Uses for Homemade Pan Release
Homemade pan release is not limited to just baking pans – it can be used in a variety of cooking and baking applications. Try using it to grease muffin tins, loaf pans, cake pans, and even casserole dishes for effortless release. The lubricating properties of the pan release also make it an excellent choice for sautéing delicate ingredients, like fish or eggs, in a skillet. For a truly customized experience, you can even use the pan release to “season” your favorite baking sheets or cast-iron skillets, creating a natural non-stick surface over time.
Recipes that Shine
Homemade pan release is the secret weapon for bakers who want to achieve stunning results. From light and fluffy cakes to tender muffins and buttery breads, this versatile mixture ensures your baked goods emerge from the oven picture-perfect. Here are a few recipes that truly shine when paired with a generous coating of homemade pan release:
- Bourbon Peach Upside Down Cake
- Fresh Peach Fritters
- Healthy Chocolate Banana Bread
- Blueberry Biscuits
Frequently Asked Questions
What ingredients are used to make homemade pan release?
Homemade pan release is made with a simple blend of all-purpose flour, vegetable shortening, and vegetable oil. The flour helps the mixture adhere to the pan, while the shortening and oil create a smooth, non-stick barrier.
How do I apply homemade pan release to baking pans?
To use your homemade pan release, simply scoop out a small amount and use a paper towel or pastry brush to evenly coat the interior of your baking pans. Make sure to cover all surfaces, including the sides and bottom, for the best non-stick results.
Can homemade pan release be stored for future use?
Yes, homemade pan release can be stored in an airtight container at room temperature for several months. This makes it a convenient and cost-effective baking essential to have on hand whenever you need it.
Is homemade pan release safe for non-stick and metal pans?
Absolutely! Homemade pan release is safe for use on both non-stick and traditional metal baking pans. The flour, shortening, and oil blend creates a gentle, non-abrasive coating that won’t damage your cookware.
Elevate Your Baking
Homemade pan release is the secret weapon that every passionate baker needs in their arsenal. With its simple, three-ingredient formula and endless versatility, this DIY marvel will transform your baking experience. Say goodbye to stubborn, stuck-on messes and hello to effortless, picture-perfect results. Unlock the full potential of your baked goods by embracing the power of homemade pan release today!
Looking for more tasty ideas? Visit Elena’s Fast & Flavorful Recipes on Pinterest for a treasure trove of easy meals, comforting bakes, and fun kitchen inspiration!
PrintMaster Homemade Pan Release with This Easy 3-Ingredient Recipe!

Homemade pan release is a simple, three-ingredient mixture that ensures a flawless release of baked goods from pans, preventing sticking and tearing.
- Prep Time: 10 minutes
- Cook Time: 0 minutes
- Total Time: 10 minutes
- Yield: 1 cup 1x
- Category: Baking Essentials
- Method: Mixing
- Cuisine: American
- Diet: Vegetarian
Ingredients
- 1 cup all-purpose flour
- 1 cup vegetable shortening
- 1 cup vegetable oil
Instructions
1. 1. In a medium-sized bowl, combine 1 cup of all-purpose flour, 1 cup of vegetable shortening, and 1 cup of vegetable oil.
2. 2. Using a spoon or a hand mixer, mix the ingredients thoroughly until the mixture is smooth and well-combined.
3. 3. Your homemade pan release is now ready to use! Apply a generous coating to your baking pans before adding your batter or dough.
4. 4. For future use, store the pan release in an airtight container at room temperature. It will keep for several months.
Notes
Homemade pan release can be used on both non-stick and metal pans and is customizable for thickness and flavor.
Nutrition
- Serving Size: 1 tablespoon
- Calories: 100
- Sugar: 0g
- Sodium: 0mg
- Fat: 11g
- Saturated Fat: 3g
- Unsaturated Fat: 8g
- Trans Fat: 0g
- Carbohydrates: 8g
- Fiber: 0g
- Protein: 0g
- Cholesterol: 0mg
Keywords: pan release, baking, homemade