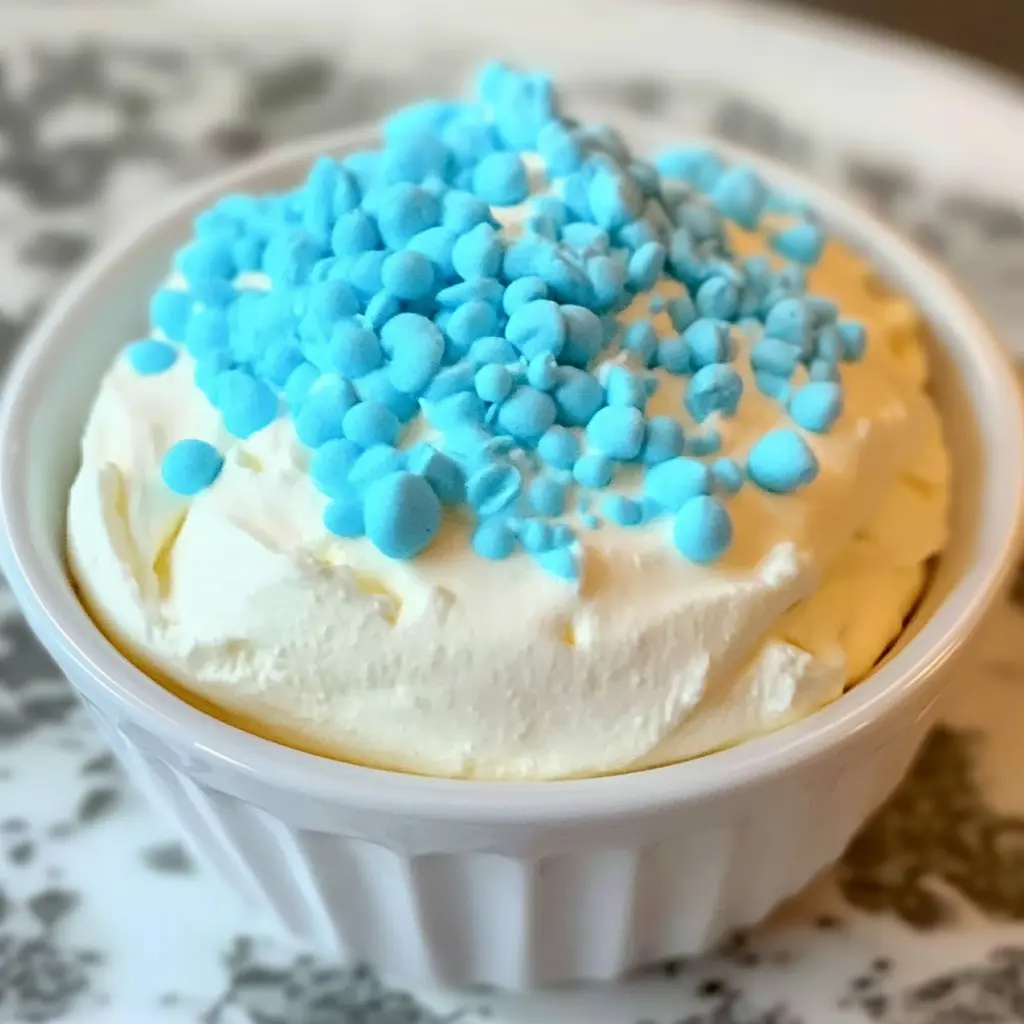

Hop into the Easter spirit with these delectable COOKIE DOUGH EASTER EGGS! These festive treats combine the irresistible flavors of creamy cookie dough with vibrant candy coatings, creating a playful and indulgent dessert perfect for spring celebrations. Whether you’re hosting an Easter brunch or simply craving a sweet, no-bake delight, these COOKIE DOUGH EASTER EGGS are sure to delight all your guests.
Table of Contents
Ingredients for COOKIE DOUGH EASTER EGGS
- ½ cup butter, softened
- ¾ cup brown sugar
- 1 teaspoon vanilla extract
- 2 cups flour
- 1 can (14 ounces) sweetened condensed milk
- ½ cup miniature chocolate chips
- ½ pound blue candy melts
- ½ pound yellow candy melts
- ½ pound pink candy melts
- ½ pound white candy melts
- Easter sprinkles
How to Make COOKIE DOUGH EASTER EGGS
Prepare to create a delightful Easter treat that’s sure to be the talk of the holiday!
Make the Cookie Dough
In a large bowl, cream together the softened butter and brown sugar until light and fluffy. Stir in the vanilla extract and sweetened condensed milk. Gradually mix in the flour until the dough is well combined, then fold in the miniature chocolate chips.
Shape the Eggs
Scoop the cookie dough and gently shape it into small egg-like forms. Place the shaped eggs on a parchment-lined baking sheet or tray.
Chill the Eggs
Refrigerate the shaped COOKIE DOUGH EASTER EGGS for 1-2 hours, or until they are firm and hold their shape.
Melt the Candy Coatings
Melt each color of candy melts according to the package instructions, taking care to achieve a smooth, pourable consistency.
Dip and Decorate
Dip the chilled COOKIE DOUGH EASTER EGGS into the melted candy coatings, allowing any excess to drip off. Immediately top with colorful Easter sprinkles while the coating is still wet.
Allow to Set
Place the decorated COOKIE DOUGH EASTER EGGS on a parchment-lined surface and allow the candy coating to harden completely before serving.
Tips for Perfect COOKIE DOUGH EASTER EGGS
Chilling the Dough
Chilling the shaped COOKIE DOUGH EASTER EGGS is crucial to ensure they hold their form and don’t become misshapen when dipped in the candy melts. Be sure to refrigerate them for the full 1-2 hours for best results.
Melting the Candy Melts
When melting the candy melts, take your time and stir them frequently to achieve a smooth, pourable consistency. Avoid overheating, as this can cause the melts to seize up and become unusable.
Decorating Techniques
Get creative with your decorations! While the classic Easter sprinkles are a beautiful choice, you can also experiment with drizzling contrasting candy colors, adding edible glitter, or even piping designs on top of the coated COOKIE DOUGH EASTER EGGS.
Storing Your Treats
Store the finished COOKIE DOUGH EASTER EGGS in an airtight container at room temperature. They will keep for up to 1 week, making them a great make-ahead Easter dessert option.
More Related Recipes You Might Enjoy
Nutritional Information
Each COOKIE DOUGH EASTER EGG contains approximately 150 calories, 7g of fat, 20g of carbohydrates, and 2g of protein. While these treats are indulgent, you can opt for healthier alternatives by using reduced-fat butter, whole wheat flour, and sugar-free candy melts to lower the calorie and fat content.
Frequently Asked Questions
What ingredients are required to make COOKIE DOUGH EASTER EGGS?
The key ingredients needed to make COOKIE DOUGH EASTER EGGS are softened butter, brown sugar, vanilla extract, flour, sweetened condensed milk, miniature chocolate chips, and various colored candy melts for coating.
How do you shape and assemble the cookie dough into Easter eggs?
To shape the COOKIE DOUGH EASTER EGGS, simply scoop the dough and gently form it into small egg-like shapes. Place the shaped eggs on a parchment-lined tray or baking sheet and refrigerate them for 1-2 hours to firm up before dipping them in the melted candy coatings.
Can COOKIE DOUGH EASTER EGGS be made ahead of time and stored?
Yes, these COOKIE DOUGH EASTER EGGS can be made in advance. Once the candy coating has hardened, store the finished eggs in an airtight container at room temperature for up to 1 week, making them a great make-ahead option for your Easter celebrations.
Are there ways to customize COOKIE DOUGH EASTER EGGS with different flavors or toppings?
Absolutely! You can get creative with your COOKIE DOUGH EASTER EGGS by using different flavors of cookie dough, such as peanut butter or chocolate chip. You can also experiment with various candy melts, sprinkles, drizzles, or even edible glitter to customize the decorations and make each egg unique.
Conclusion
Indulge in the delightful combination of buttery cookie dough and vibrant candy coatings with these enchanting COOKIE DOUGH EASTER EGGS. Perfect for holiday gatherings, Easter baskets, or simply satisfying your sweet tooth, these no-bake treats are a fun and festive way to celebrate the season. Gather your loved ones and let the Easter egg decorating begin!
Looking for more tasty ideas? Visit Elena’s Fast & Flavorful Recipes on Pinterest for a treasure trove of easy meals, comforting bakes, and fun kitchen inspiration!
PrintCreate Irresistible COOKIE DOUGH EASTER EGGS for Easter Fun!

Hop into the Easter spirit with these delectable COOKIE DOUGH EASTER EGGS! These festive treats combine the irresistible flavors of creamy cookie dough with vibrant candy coatings, creating a playful and indulgent dessert perfect for spring celebrations. Whether you’re hosting an Easter brunch or simply craving a sweet, no-bake delight, these COOKIE DOUGH EASTER EGGS are sure to delight all your guests.
- Prep Time: 30 minutes
- Cook Time: 0 minutes
- Total Time: 2 hours
- Yield: 24 eggs 1x
- Category: Dessert
- Method: No-Bake
- Cuisine: American
- Diet: Vegetarian
Ingredients
- 1/2 cup butter, softened
- 3/4 cup brown sugar
- 1 teaspoon vanilla extract
- 2 cup flour
- 14 ounce sweetened condensed milk
- 1/2 cup miniature chocolate chips
- 1/2 pound blue candy melts
- 1/2 pound yellow candy melts
- 1/2 pound pink candy melts
- 1/2 pound white candy melts
- Easter sprinkles
Instructions
1. In a large bowl, cream together the softened butter and brown sugar until light and fluffy. Stir in the vanilla extract and sweetened condensed milk. Gradually mix in the flour until the dough is well combined, then fold in the miniature chocolate chips.
2. Scoop the cookie dough and gently shape it into small egg-like forms. Place the shaped eggs on a parchment-lined baking sheet or tray.
3. Refrigerate the shaped COOKIE DOUGH EASTER EGGS for 1-2 hours, or until they are firm and hold their shape.
4. Melt each color of candy melts according to the package instructions, taking care to achieve a smooth, pourable consistency.
5. Dip the chilled COOKIE DOUGH EASTER EGGS into the melted candy coatings, allowing any excess to drip off. Immediately top with colorful Easter sprinkles while the coating is still wet.
6. Place the decorated COOKIE DOUGH EASTER EGGS on a parchment-lined surface and allow the candy coating to harden completely before serving.
Notes
Chilling the shaped COOKIE DOUGH EASTER EGGS is crucial to ensure they hold their form and don’t become misshapen when dipped in the candy melts. Be sure to refrigerate them for the full 1-2 hours for best results.
When melting the candy melts, take your time and stir them frequently to achieve a smooth, pourable consistency. Avoid overheating, as this can cause the melts to seize up and become unusable.
Get creative with your decorations! While the classic Easter sprinkles are a beautiful choice, you can also experiment with drizzling contrasting candy colors, adding edible glitter, or even piping designs on top of the coated COOKIE DOUGH EASTER EGGS.
Store the finished COOKIE DOUGH EASTER EGGS in an airtight container at room temperature. They will keep for up to 1 week, making them a great make-ahead Easter dessert option.
Nutrition
- Serving Size: 1 egg
- Calories: 150
- Sugar: 10g
- Sodium: 50mg
- Fat: 7g
- Saturated Fat: 4g
- Unsaturated Fat: 2g
- Trans Fat: 0g
- Carbohydrates: 20g
- Fiber: 0g
- Protein: 2g
- Cholesterol: 20mg
Keywords: Easter, Cookies, Dessert